Setup windows test client: Difference between revisions
Jump to navigation
Jump to search
| (26 intermediate revisions by the same user not shown) | |||
| Line 2: | Line 2: | ||
<br> | <br> | ||
=Main= | =Main= | ||
{| width=" | {| width="70%" <-- Test !--> | ||
| valign="top" | | | valign="top" | | ||
Step by step installation and documentation for Windows (lots of | Step by step installation and documentation for Windows (lots of screen shots). | ||
*'''Goal: Adding a Windows test client to | *'''Goal: Adding a Windows test client to the myLVS environment''' | ||
'''Requirements''' | |||
*Windows Server 2012 (using your own license key) | *Windows Server 2012 (using your own license key) | ||
*IIS installed | *IIS installed | ||
| Line 12: | Line 13: | ||
*Loopback IP Address: 192.168.2.220 | *Loopback IP Address: 192.168.2.220 | ||
| valign="top" | | | valign="top" | | ||
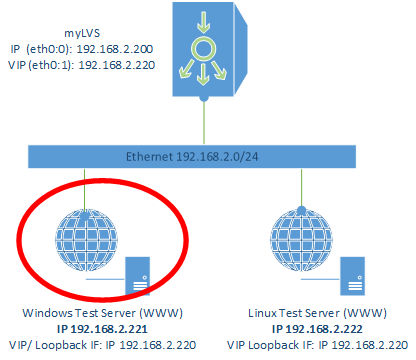
Windows Setup in myLVS overview<br> | |||
[[File:myLVS-HL-Windows.png|240px]]<br><br> | [[File:myLVS-HL-Windows.png|240px]]<br><br> | ||
|} | |} | ||
| Line 62: | Line 63: | ||
=Configure the new loop back device= | =Configure the new loop back device= | ||
Within Windows, goto the '''Network connections''', | Within Windows, goto the '''Network connections''', with Server 2012 you can '''run''' and type '''ncpa.ctl''' | ||
with Server 2012 you can '''run''' and type '''ncpa.ctl''' | |||
{| width=" | {| width="60%" | ||
| valign="top" | | | valign="top" | | ||
Rename | Rename the loopback adapter to '''loopback''', <br> | ||
Rename the ethernet adapter to '''lan'''<br> | |||
[[File:03-01-10-AddHWLoopback.png|320px]]<br><br> | [[File:03-01-10-AddHWLoopback.png|320px]]<br><br> | ||
| valign="top" | | | valign="top" | | ||
| Line 78: | Line 78: | ||
{| width=" | {| width="60%" | ||
| valign="top" | | | valign="top" | | ||
Enter the VIP (Virtual IP) = '''192.168.2.220/24''', <br>click '''Advanced'''<br> <br> | Enter the VIP (Virtual IP) = '''192.168.2.220/24''', <br>click '''Advanced'''<br> <br> | ||
| Line 84: | Line 84: | ||
| valign="top" | | | valign="top" | | ||
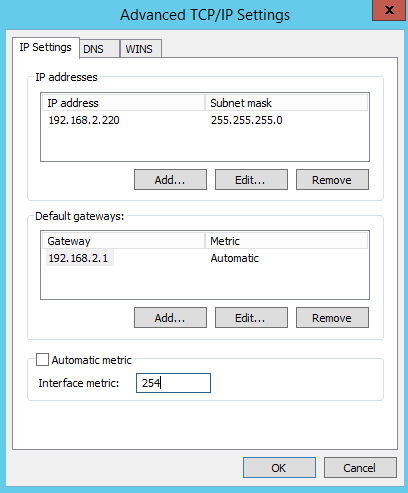
Disable '''Automatic metric''', <br>make the adapter aware of the '''ARP''' issue<br> | Disable '''Automatic metric''', <br>make the adapter aware of the '''ARP''' issue<br> | ||
Enter a high number, like 254, click OK<br> | Enter a high byte number, like 254, click OK<br> | ||
[[File:03-01-13-LoopbackMetric.png|320px]]<br><br> | [[File:03-01-13-LoopbackMetric.png|320px]]<br><br> | ||
|} | |} | ||
| Line 113: | Line 113: | ||
|} | |} | ||
{| width=" | {| width="50%" | ||
| valign="top" | | | valign="top" | | ||
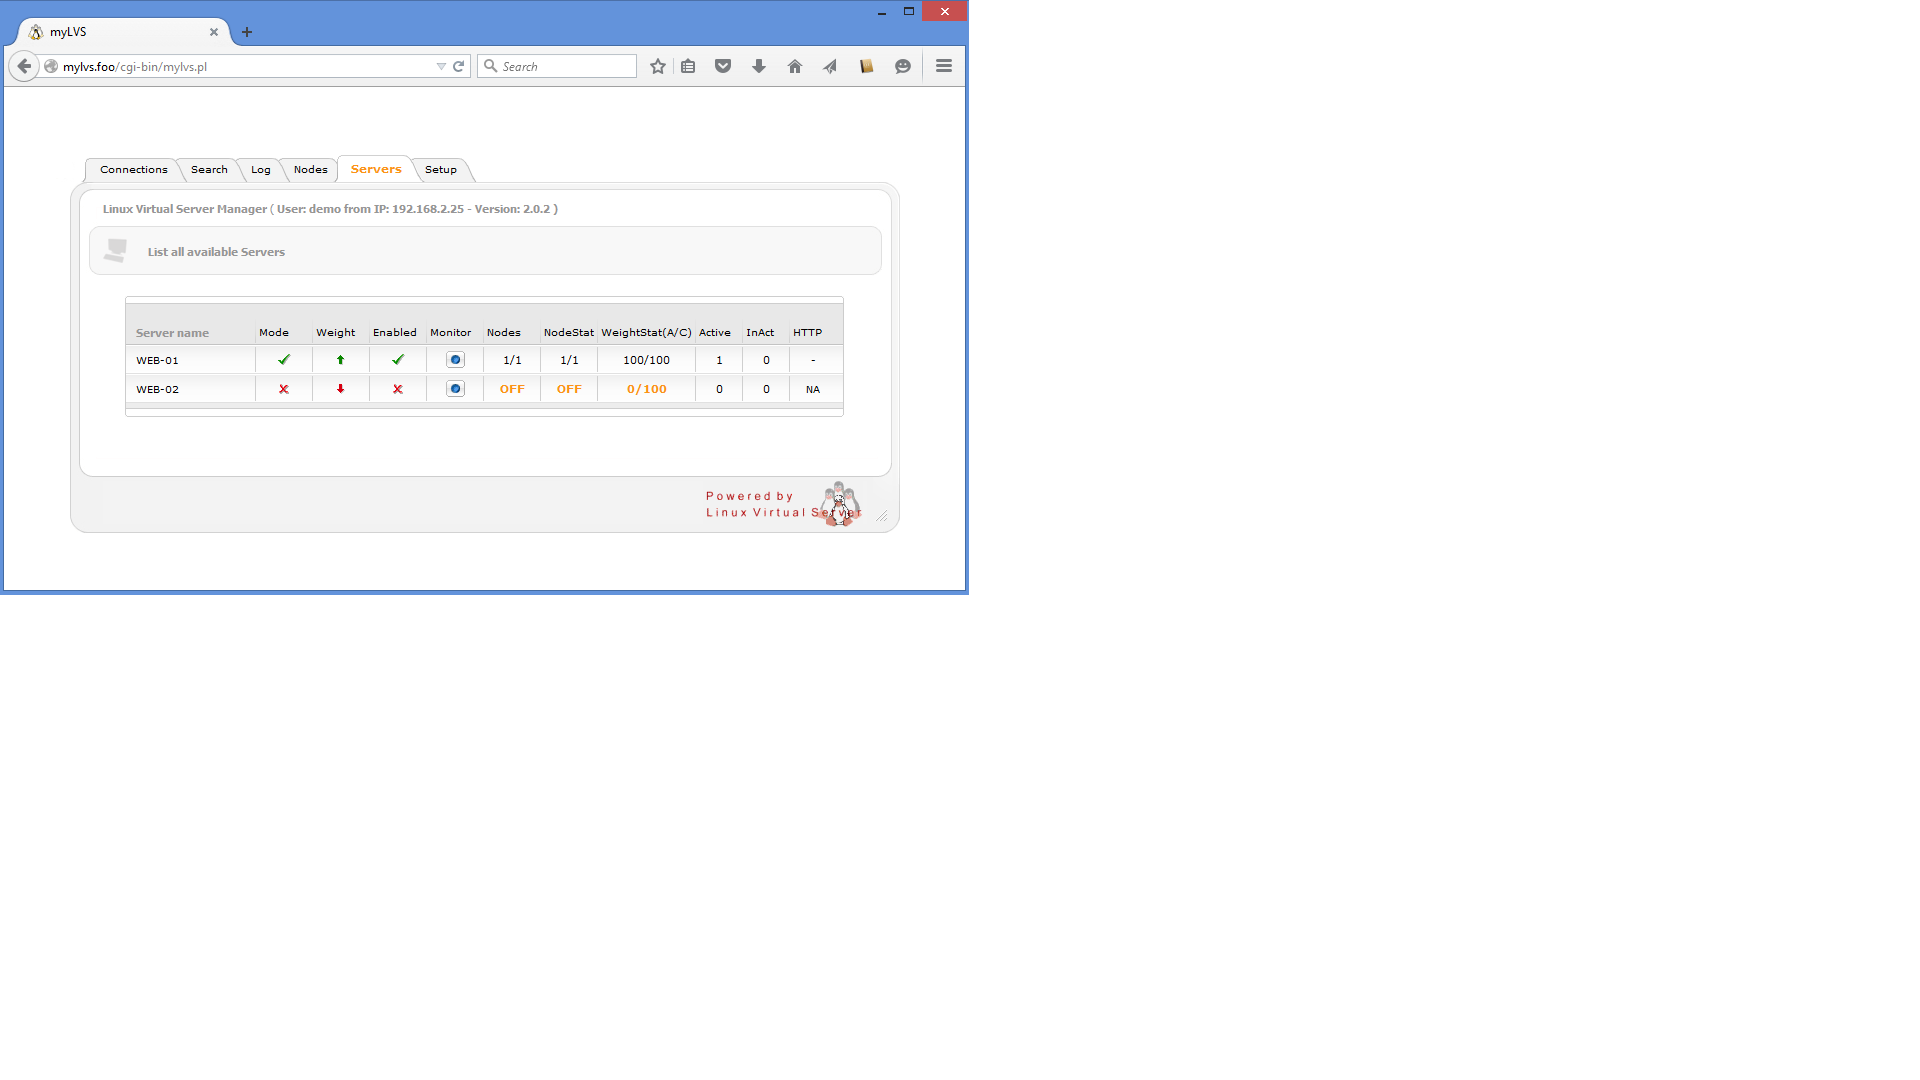
Goto myLVS and enable the Windows host and <br> | Goto myLVS and enable the Windows host and <br> | ||
[[File:03-02-01-ServerView.png|320px]]<br><br> | |||
[[File:03-02-01-ServerView.png| | |||
| valign="top" | | | valign="top" | | ||
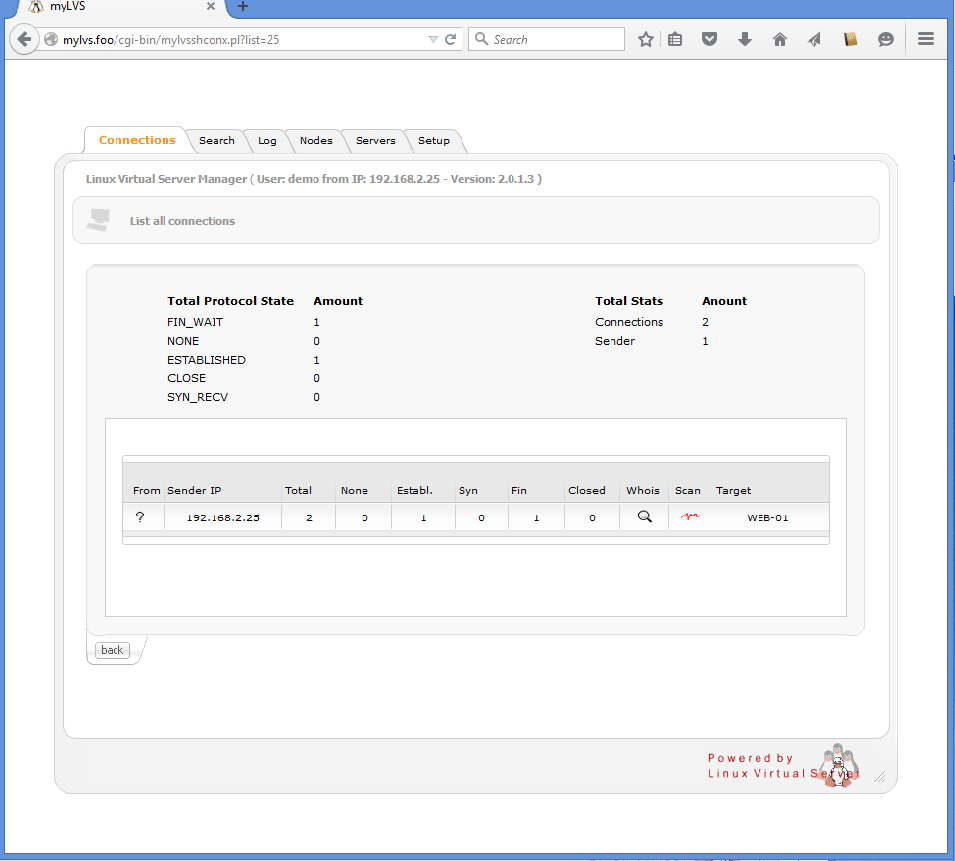
see the connection list:<br> | |||
[[File:03-02-02-NodeConnections.png|320px]]<br><br> | [[File:03-02-02-NodeConnections.png|320px]]<br><br> | ||
|} | |} | ||
=Where to go next= | |||
<br> | |||
*Go here: [[Setup linux test client]] | |||
Latest revision as of 18:32, 2 September 2015
Main
|
Step by step installation and documentation for Windows (lots of screen shots).
Requirements
|
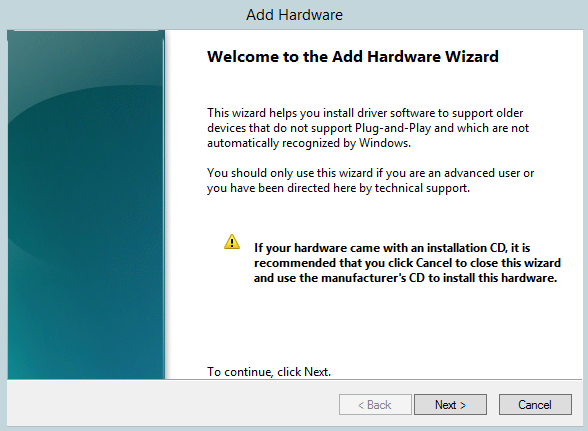
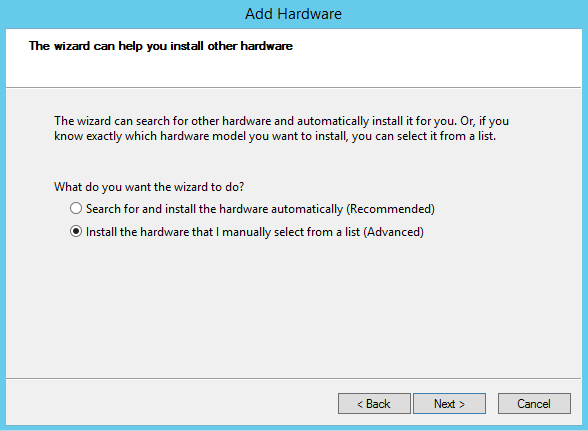
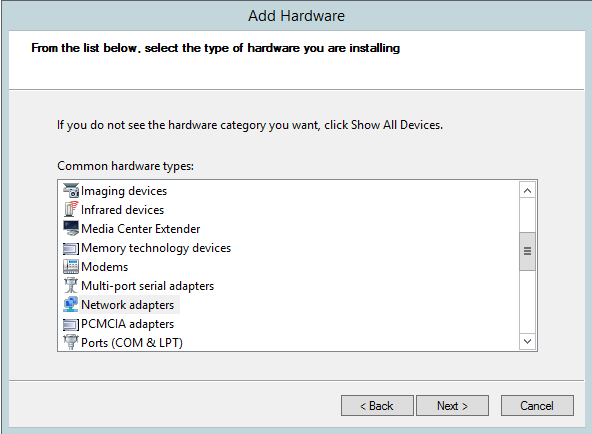
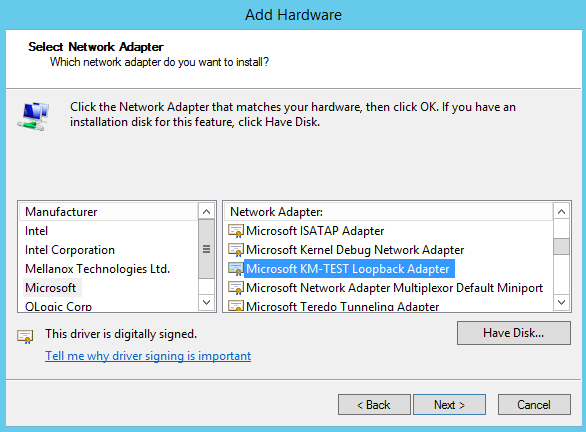
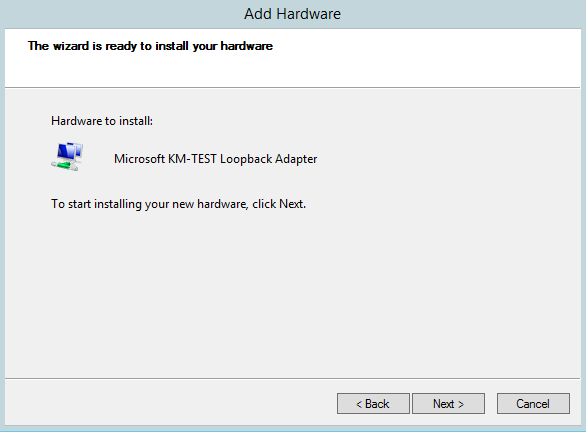
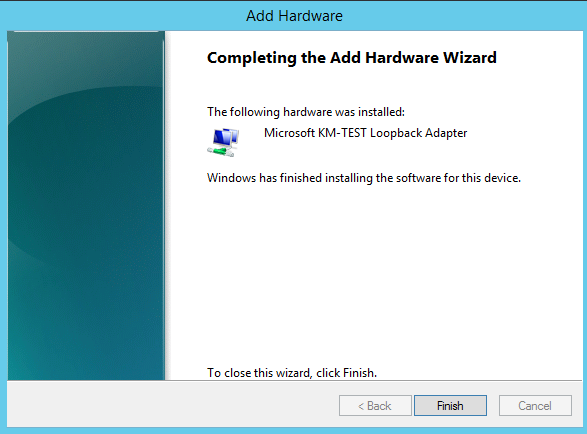
Add a new loop back device
|
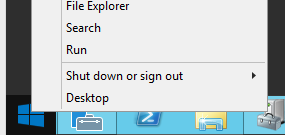
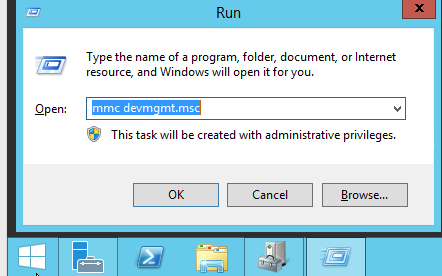
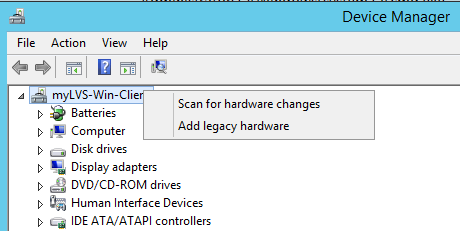
Right mouse click on your computer, |
|
Configure the new loop back device
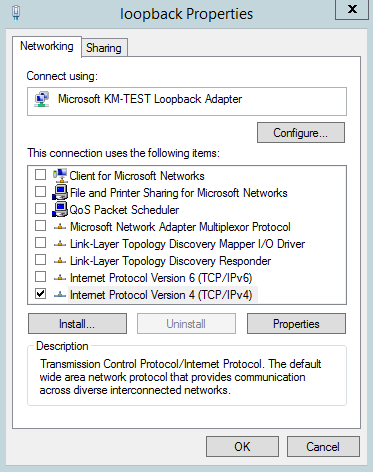
Within Windows, goto the Network connections, with Server 2012 you can run and type ncpa.ctl
|
Rename the loopback adapter to loopback, |
|
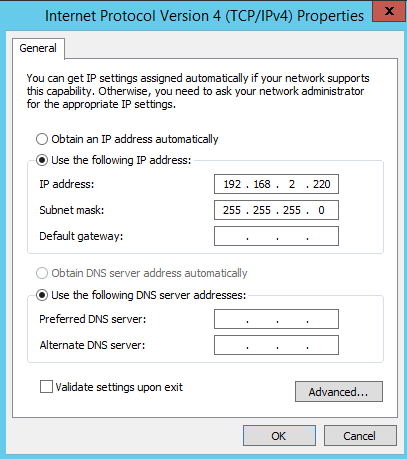
Enter the VIP (Virtual IP) = 192.168.2.220/24, |
Disable Automatic metric, |
Open an administrative console and enter:
netsh interface ipv4 set interface "lan" weakhostreceive=enabled
netsh interface ipv4 set interface "loopback" weakhostreceive=enabled
netsh interface ipv4 set interface "loopback" weakhostsend=enabled
See this for more information about those commands:
Testing the new loop back device
|
From the Windows host try to open the URL From an Network client try to open the URL |
Where to go next
- Go here: Setup linux test client
