Setup test environment: Difference between revisions
(→Main) |
(→Main) |
||
| Line 2: | Line 2: | ||
=Main= | =Main= | ||
<br><br> | <br><br> | ||
See our goal:<br> | See our goal:<br><br> | ||
[[File:myLVS-Full.png|320]] | [[File:myLVS-Full.png|320]] | ||
<br><br> | |||
The test setup runs two real server using Direct Routing (DR). We will use later 2 different OS on our test host, Linux and Windows together.<br> | The test setup runs two real server using Direct Routing (DR). We will use later 2 different OS on our test host, Linux and Windows together.<br> | ||
==Setup new hosts== | ==Setup new hosts== | ||
Revision as of 19:47, 3 July 2015
Main
See our goal:
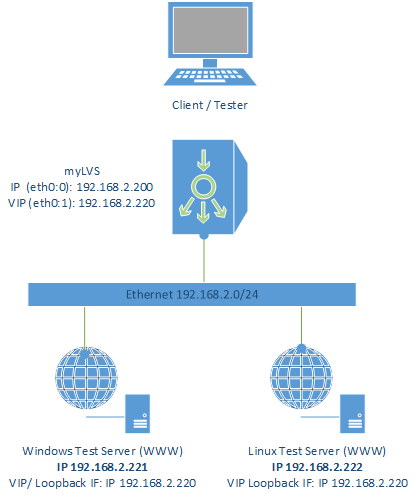
The test setup runs two real server using Direct Routing (DR). We will use later 2 different OS on our test host, Linux and Windows together.
Setup new hosts
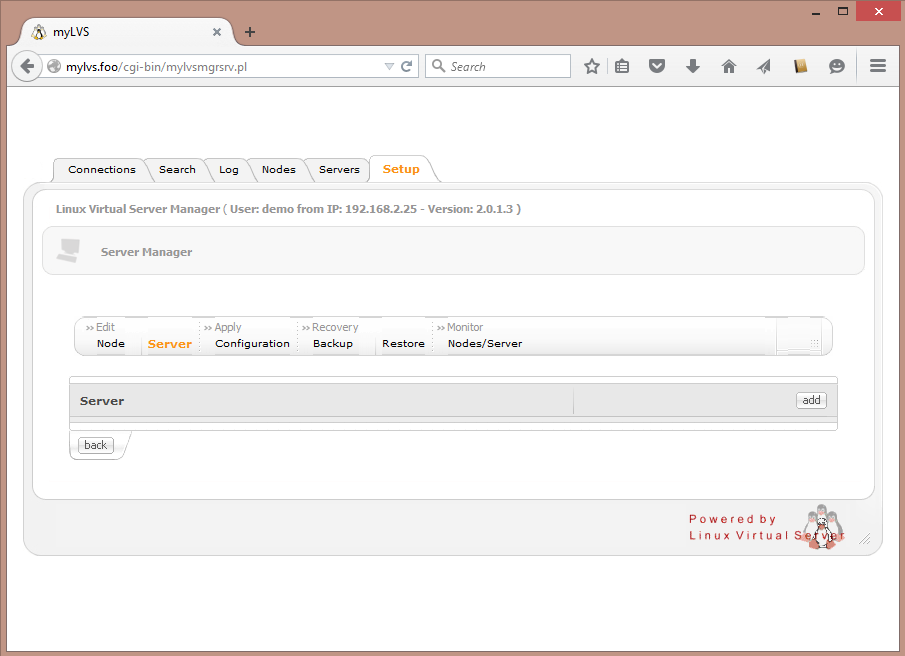
Setup the hosts, to do goto Setup->Server
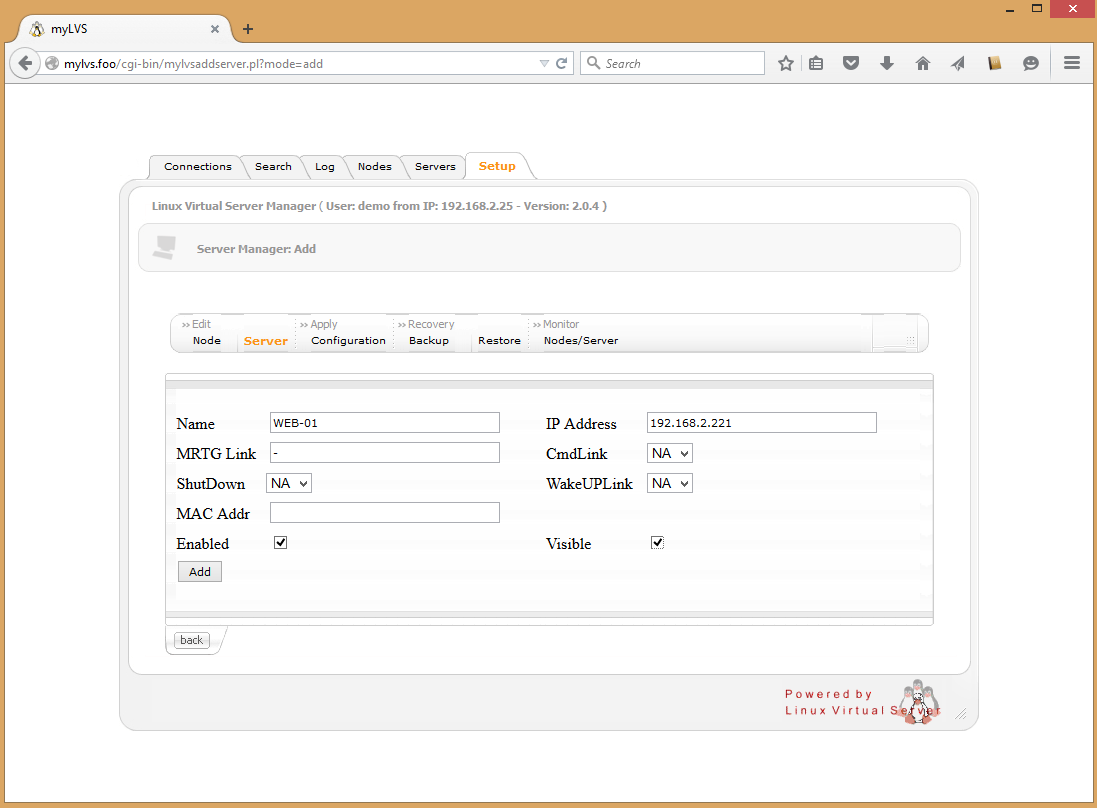
Fill the first host, name is 'Web-01 with the IP address 192.168.2.221,
the MRTG can be anything but use for now -, Click ADD
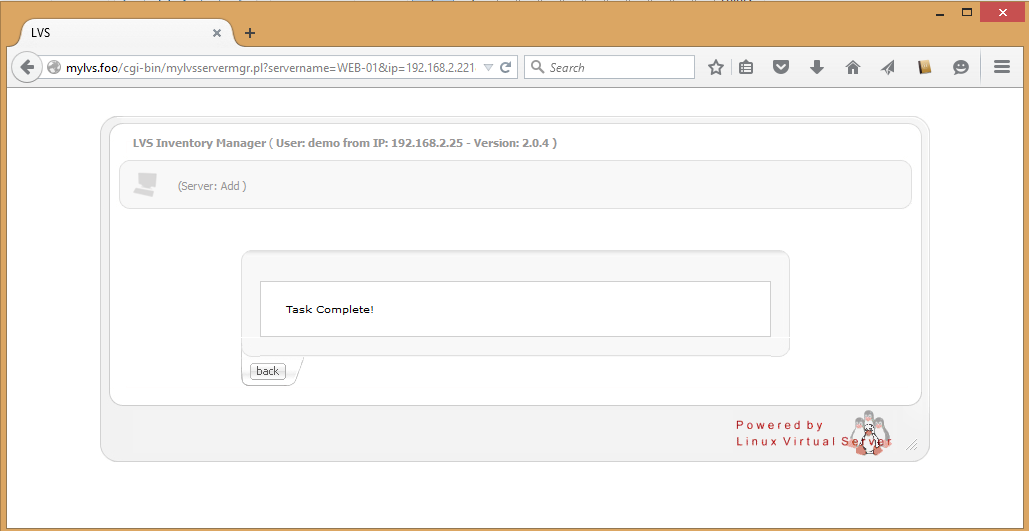
Confirm with OK to return
You should now see the new web server within the configuration:
Click on Copy to create the second node:
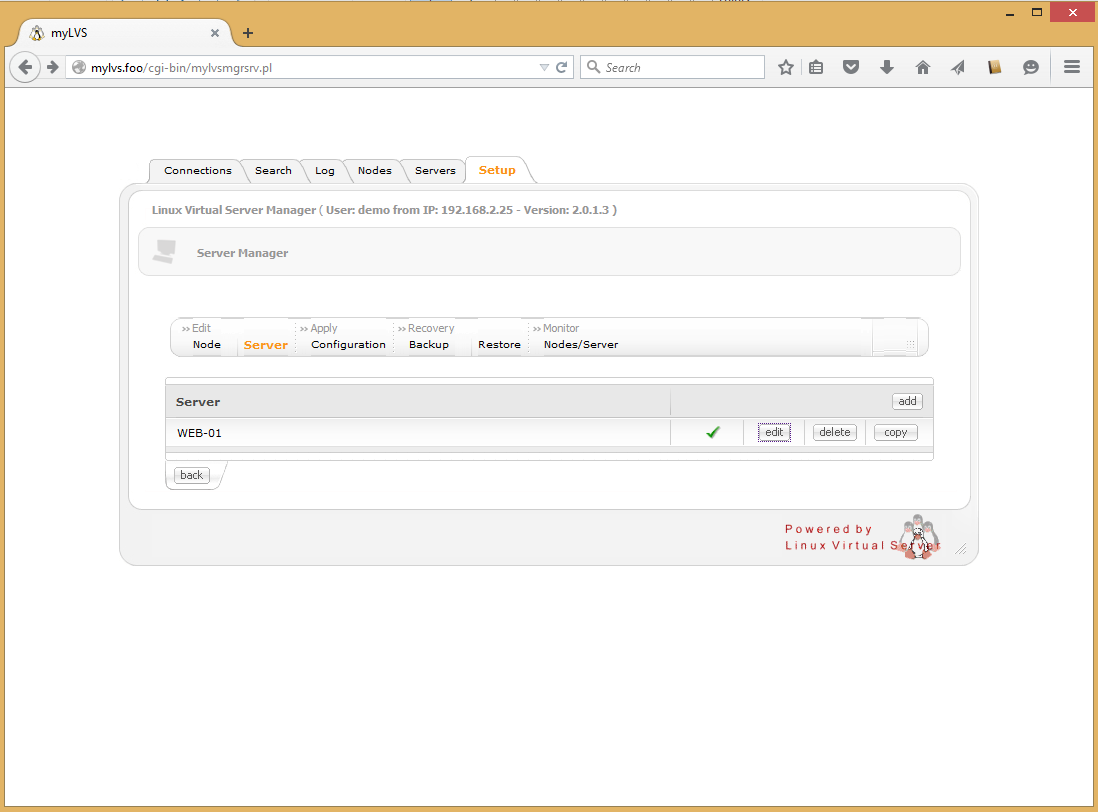
Edit the data for the second host, name is 'Web-02 with the IP address 192.168.2.222, MRTG host will be -, Click OK
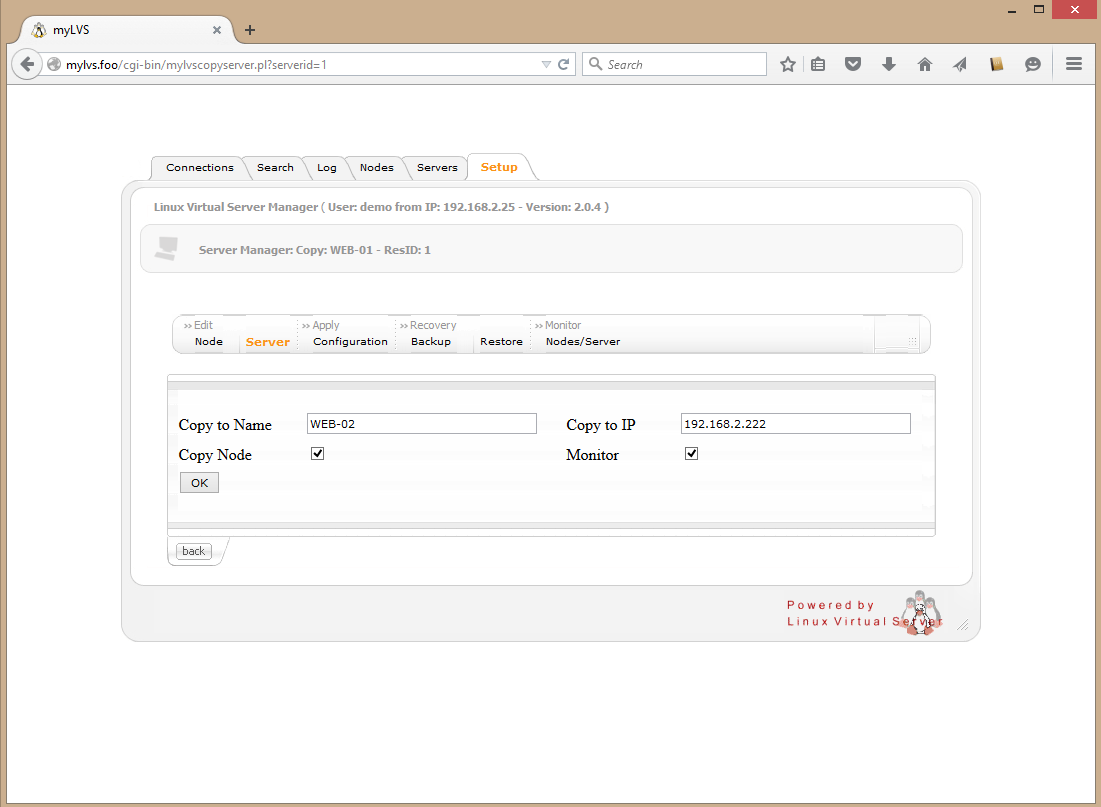
There should be now 2 hosts available in our host list:
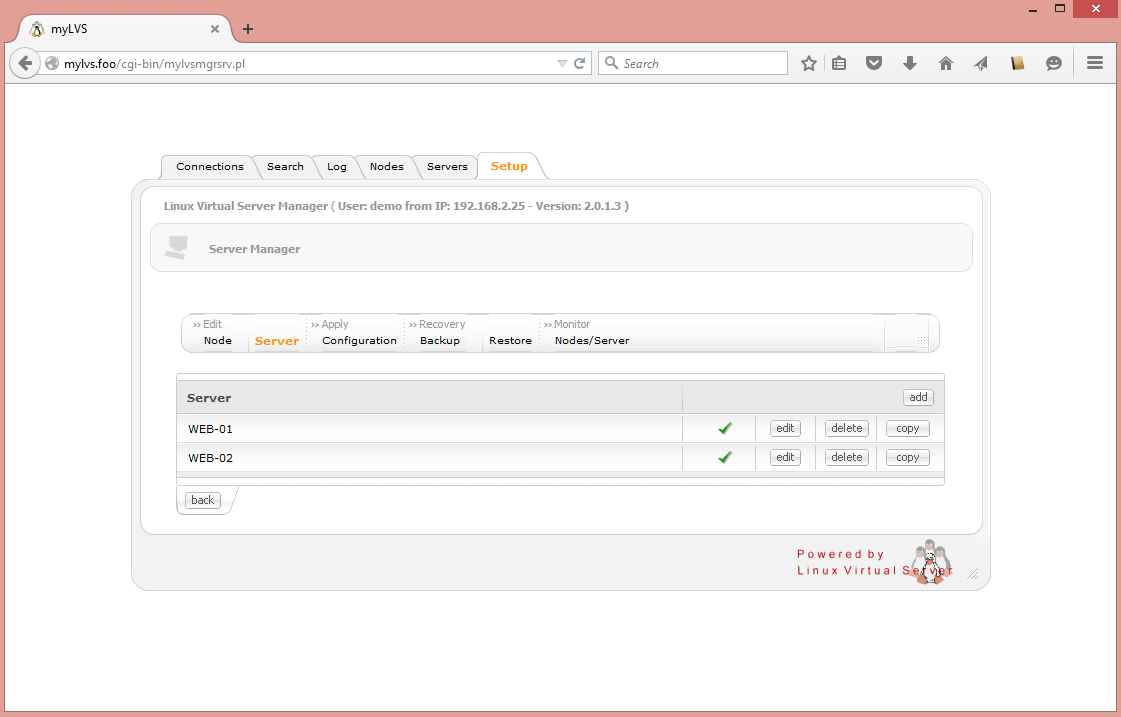
Setup a new node
Setup the node, to do goto Setup->Node
click Add
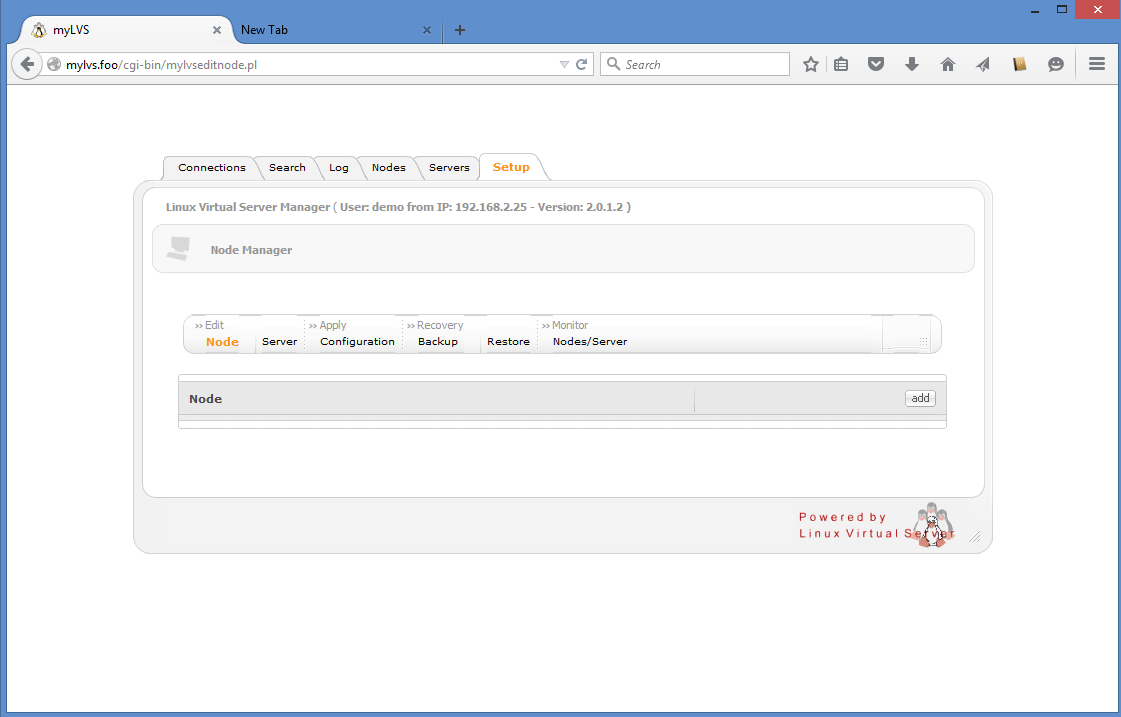
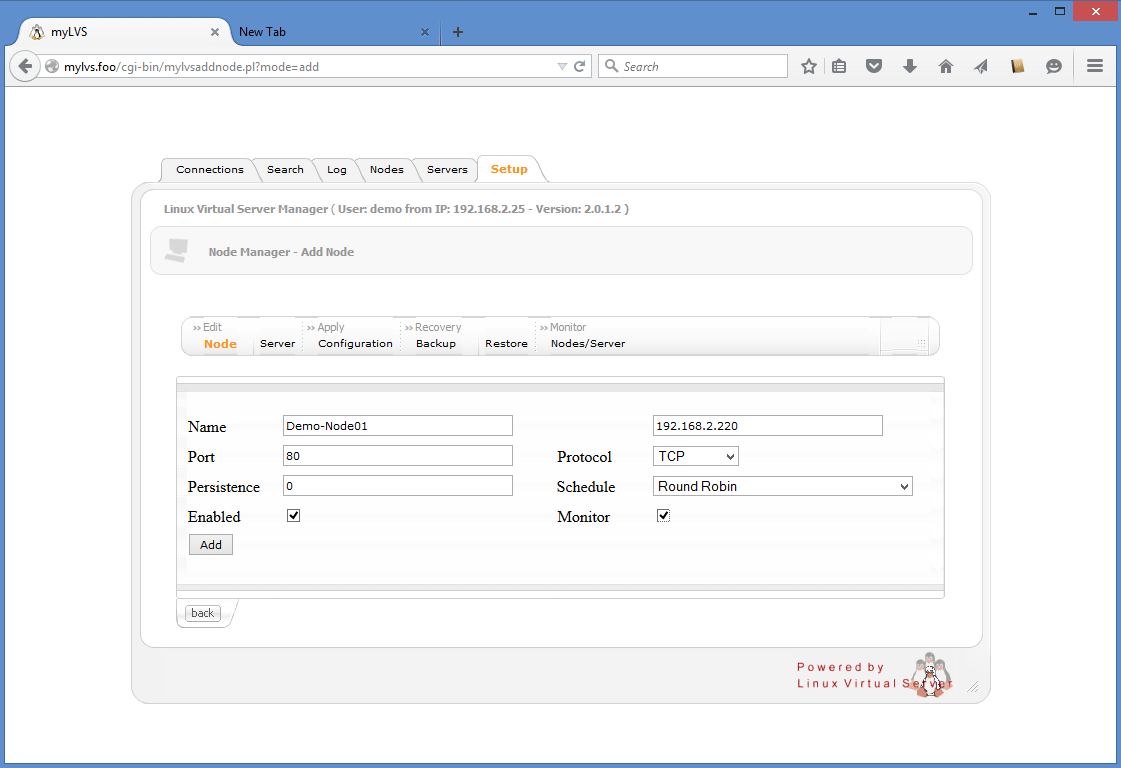
Add tne new node,we use Demo-Node01 with the node ip 192.168.2.220 on port 80 (http).
We use the easiest scheduler called Round Robing, switch in the enable and monitor flag.
Note: The monitor flag will not have any functions assigned yet but it the flag hast to be enabled to support it.
Click Add
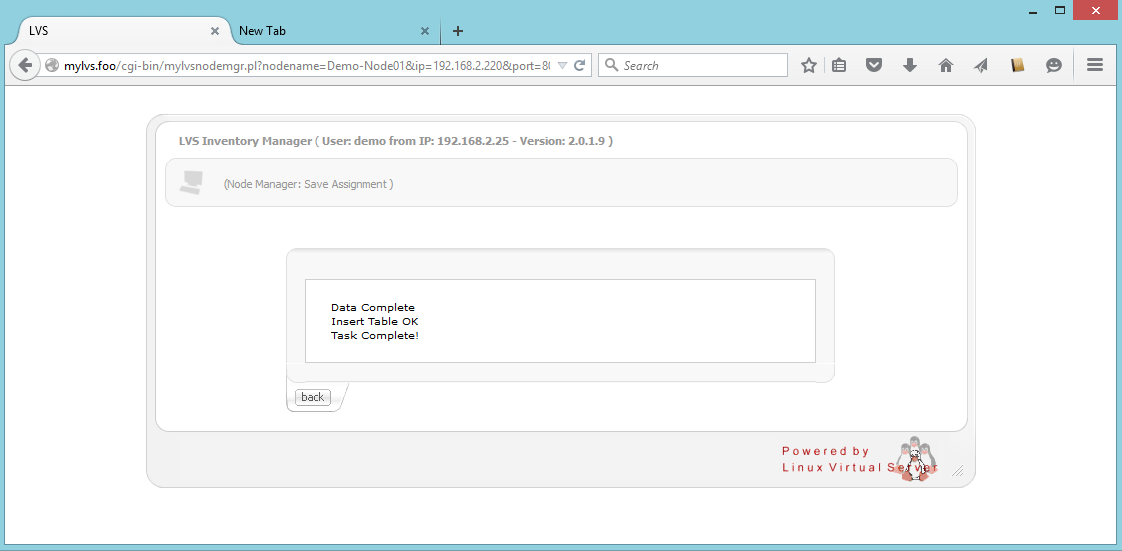
Click Back to leave the confirmation screen
Assign host to node
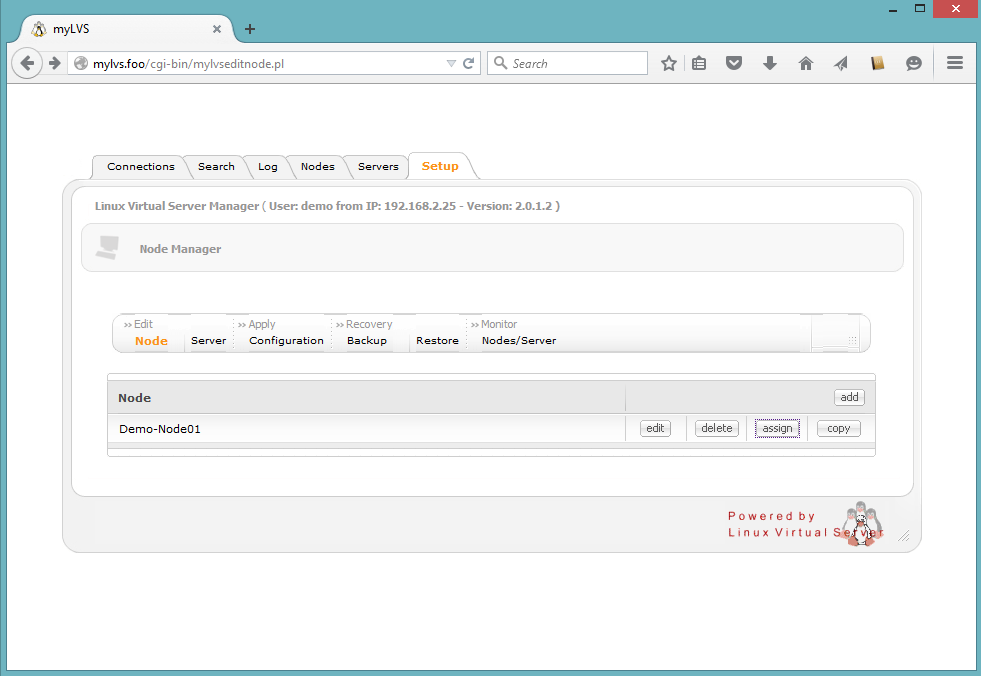
Assign our hosts, to do click assign
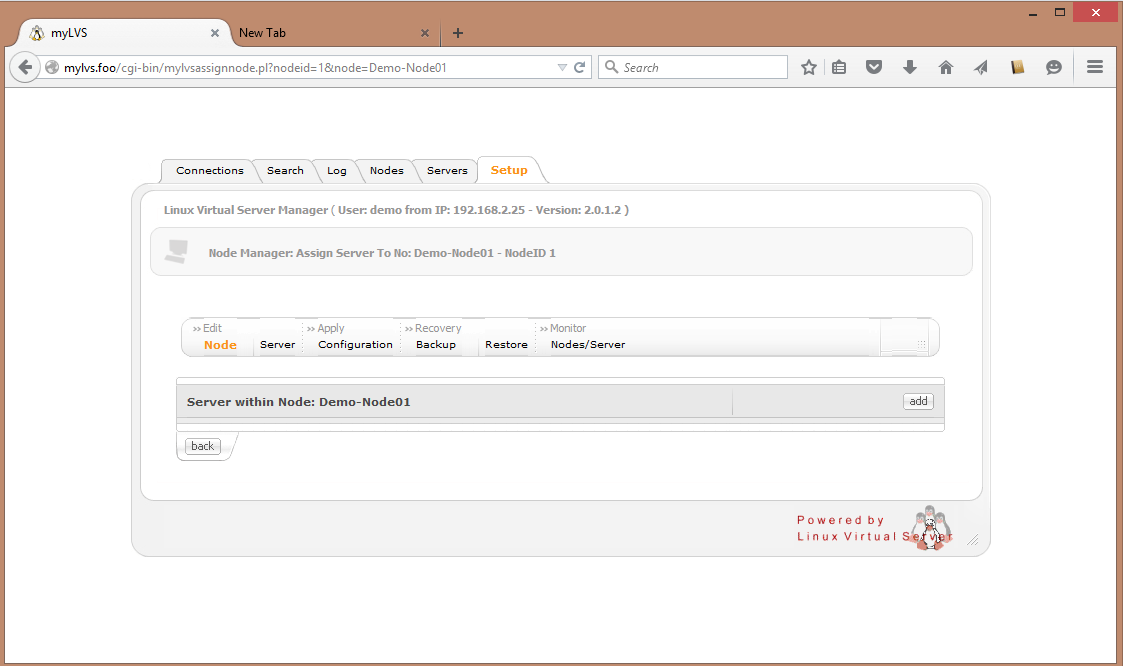
Click add to assign our first server to our new node
Pick WEB-01 from the drop down box of New Host
Choose Direct Routing
Weight 100 Port 80 and Enable
Click Add Host to Node
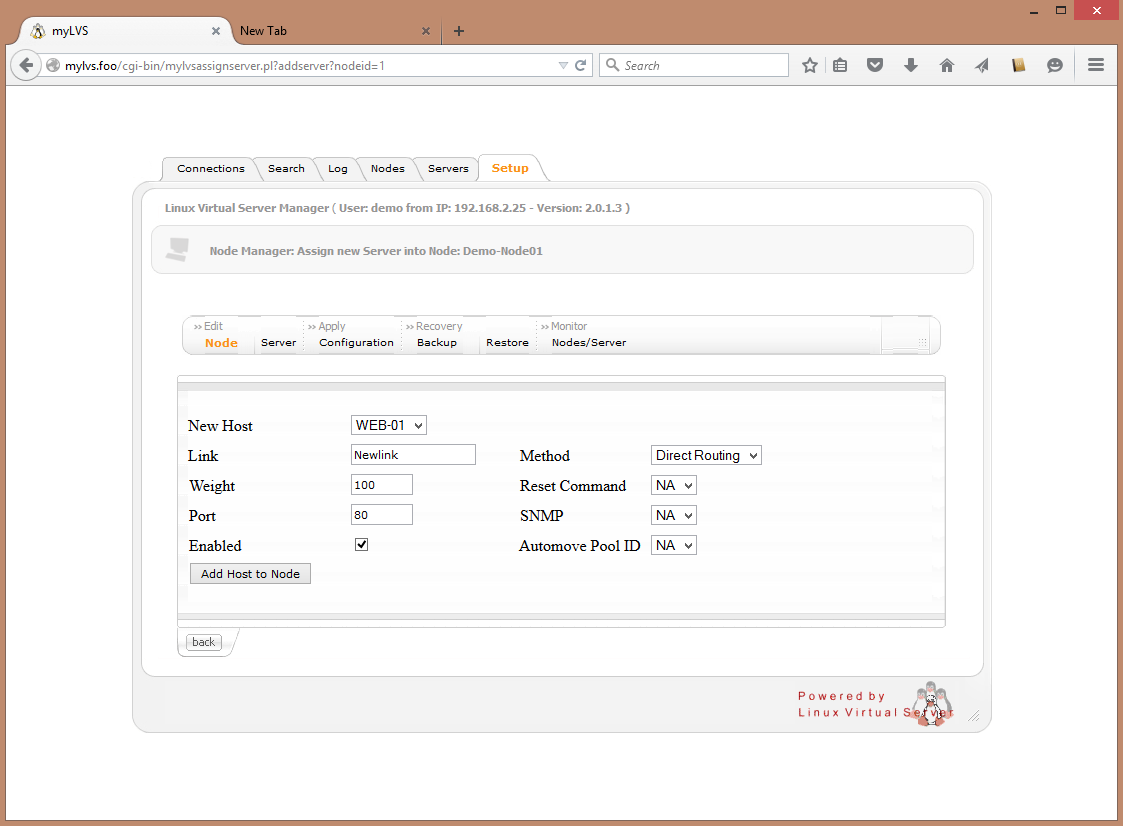
*Now do the same thing with WEB-02
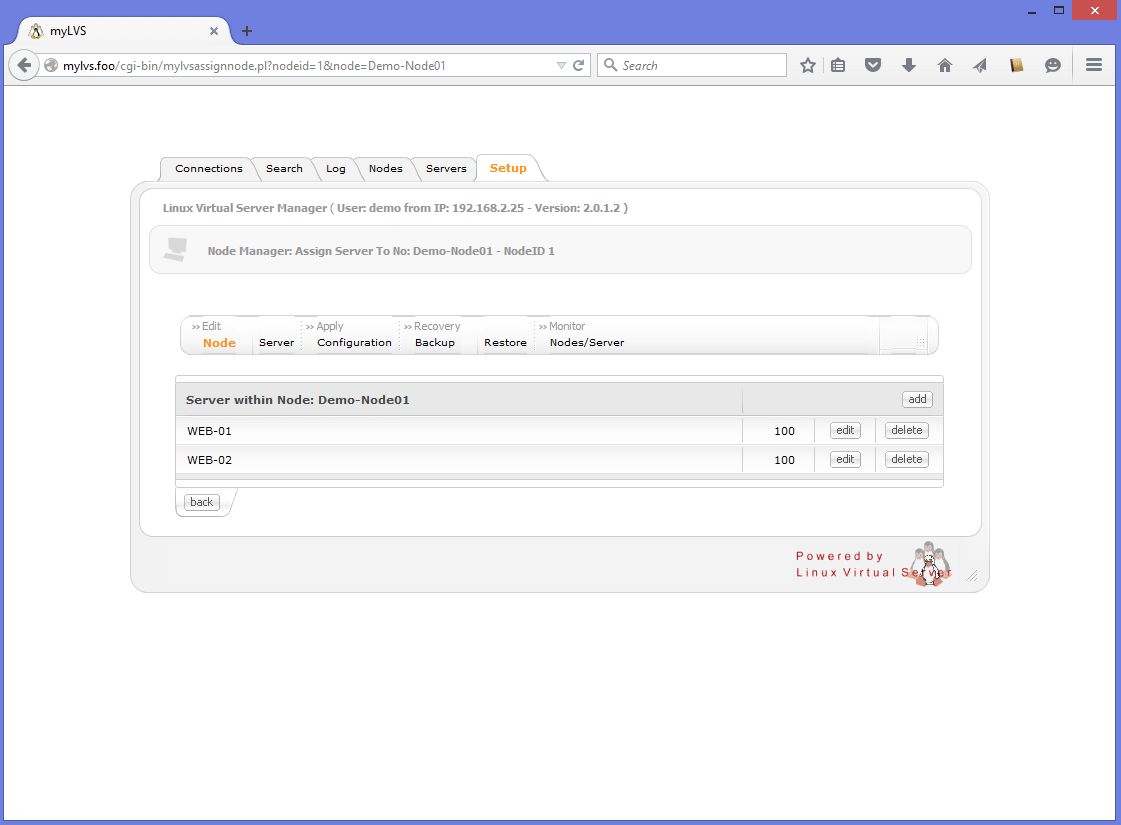
Finally there should be two new host (WEB01 & WEB-02) in our node Demo-Node01
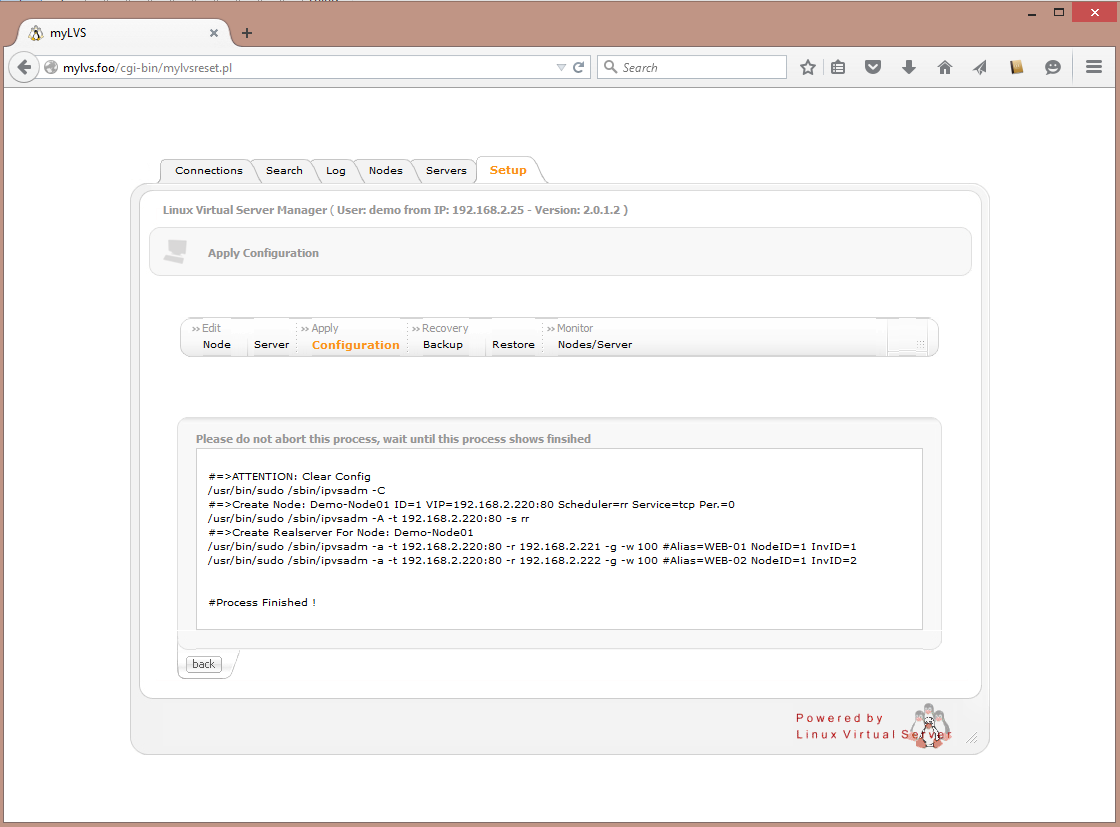
Now goto Apply on Configuration, select OK to apply the current configuration to myLVS
This should be our new inventory
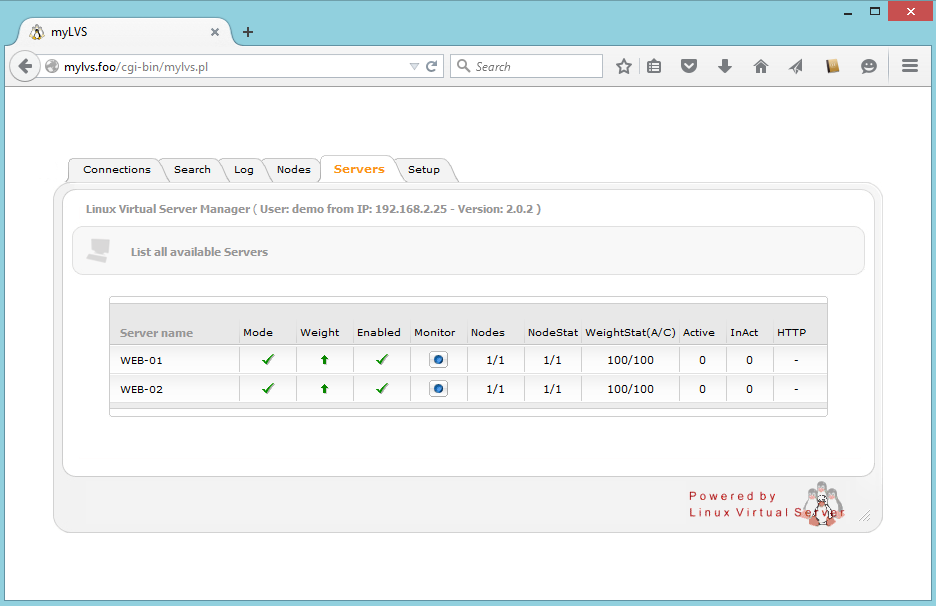
- Console output:
root@mylvs01:/# ipvsadm -L -n
IP Virtual Server version 1.2.1 (size=4096)
Prot LocalAddress:Port Scheduler Flags
  -> RemoteAddress:Port           Forward Weight ActiveConn InActConn
TCP  192.168.2.220:80 rr
  -> 192.168.2.221:80             Route   100    0          0
  -> 192.168.2.222:80             Route   100    0          0
