Setup windows test client: Difference between revisions
Jump to navigation
Jump to search
No edit summary |
|||
| Line 1: | Line 1: | ||
Step by step installation and documentation for Windows (lots of screnn shots). | |||
*'''Goal: Adding a Windows test client to our myLVS environment''' | *'''Goal: Adding a Windows test client to our myLVS environment''' | ||
*Windows Server 2012 | *Windows Server 2012 | ||
*IIS installed | *IIS installed | ||
*Computer name used: myLVS-Win-Client | *Computer name used: myLVS-Win-Client | ||
*IP Address: 192.168.2.221 | |||
*Loopback IP Address: 192.168.2.220 | |||
<br> | |||
=Configure new device= | =Configure new device= | ||
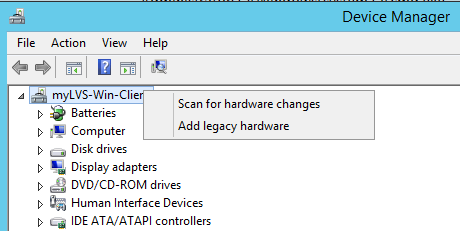
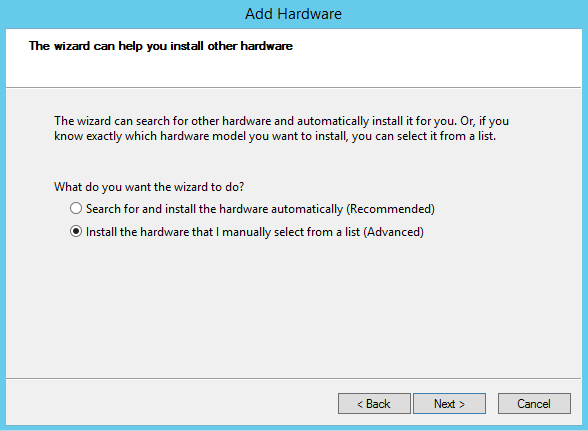
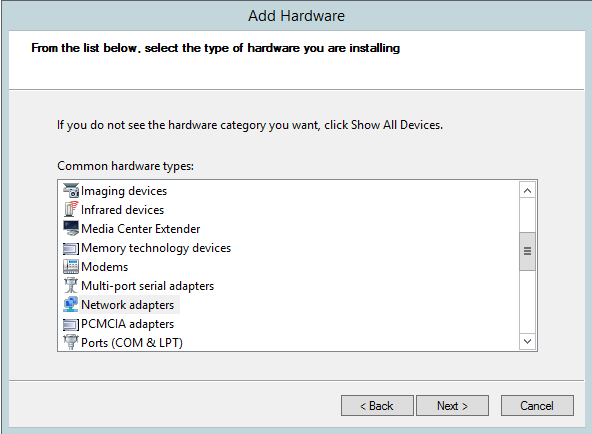
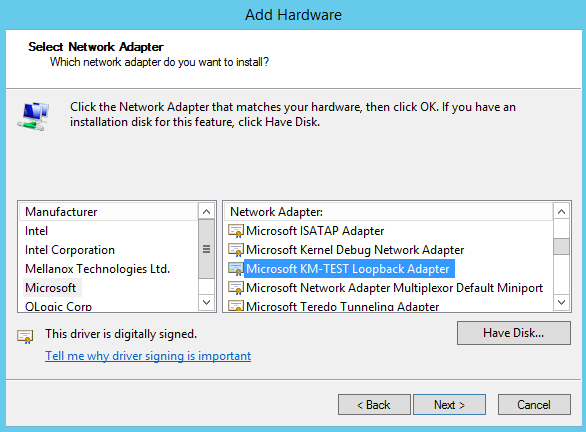
First, it is required to add the '''Loopback Adapter''' using the '''Device Manager''' | First, it is required to add the '''Loopback Adapter''' using the '''Device Manager''' | ||
Revision as of 18:54, 20 June 2015
Step by step installation and documentation for Windows (lots of screnn shots).
- Goal: Adding a Windows test client to our myLVS environment
- Windows Server 2012
- IIS installed
- Computer name used: myLVS-Win-Client
- IP Address: 192.168.2.221
- Loopback IP Address: 192.168.2.220
Configure new device
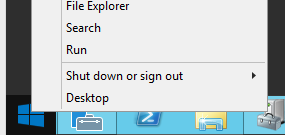
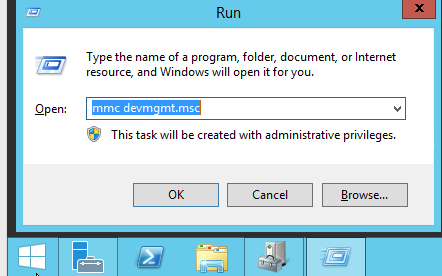
First, it is required to add the Loopback Adapter using the Device Manager
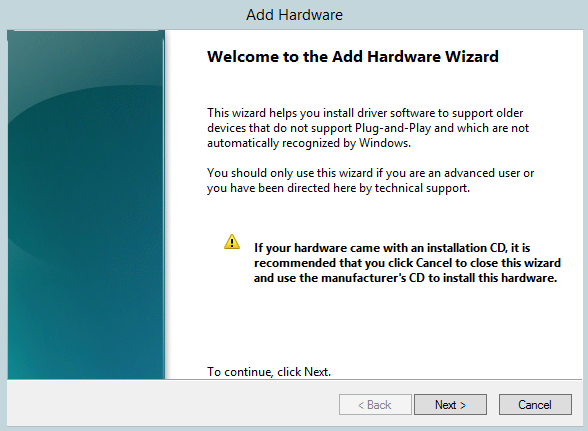
Right mouse click on your computer, select Add legacy hardware
