Setup windows test client: Difference between revisions
Jump to navigation
Jump to search
| Line 49: | Line 49: | ||
[[File:03-01-10-AddHWLoopback.png|320px]]<br><br> | [[File:03-01-10-AddHWLoopback.png|320px]]<br><br> | ||
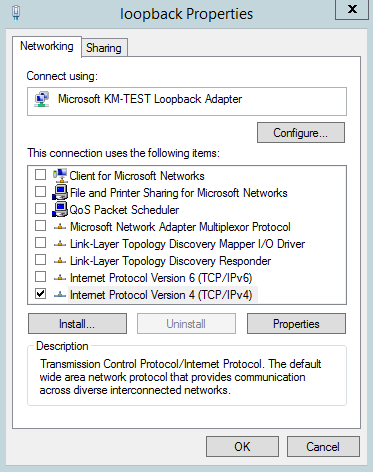
Edit the properties of ''' | Edit the properties of '''IPv4''' on the loopback adapter<br> | ||
[[File:03-01-11-LoopbackPropertie.png|320px]]<br><br> | [[File:03-01-11-LoopbackPropertie.png|320px]]<br><br> | ||
Revision as of 19:12, 20 June 2015
Step by step installation and documentation for Windows (lots of screnn shots).
- Goal: Adding a Windows test client to our myLVS environment
- Windows Server 2012 (using your own license key)
- IIS installed
- Computer name used: myLVS-Win-Client
- IP Address: 192.168.2.221
- Loopback IP Address: 192.168.2.220
Adding new device
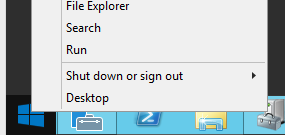
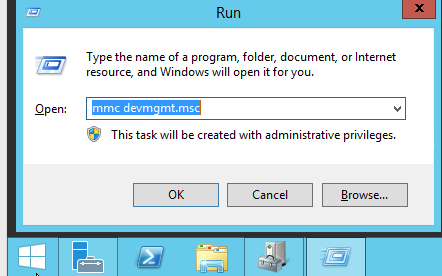
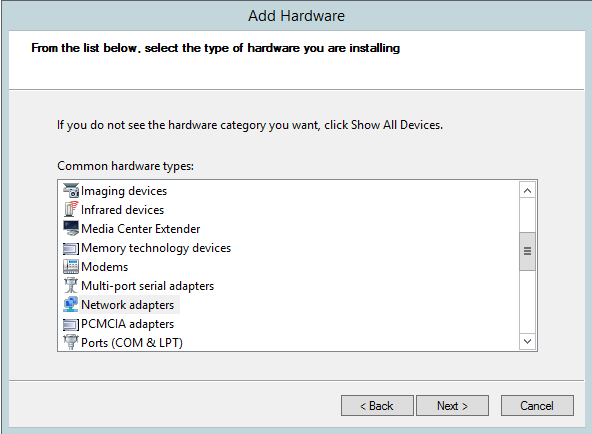
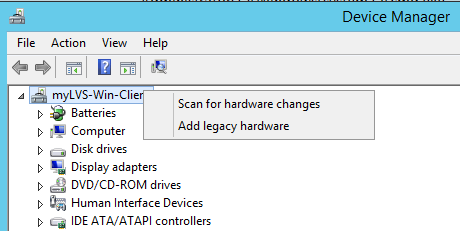
First, it is required to add the Loopback Adapter using the Device Manager
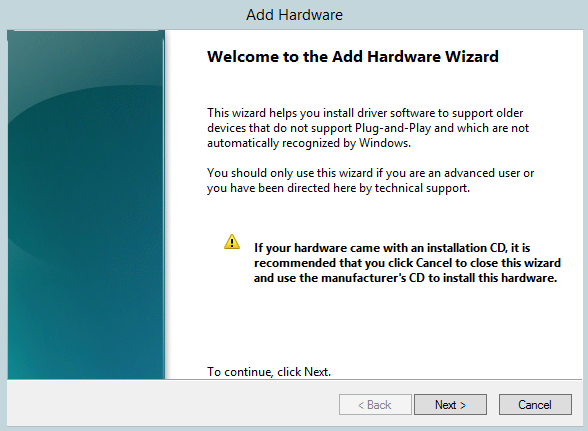
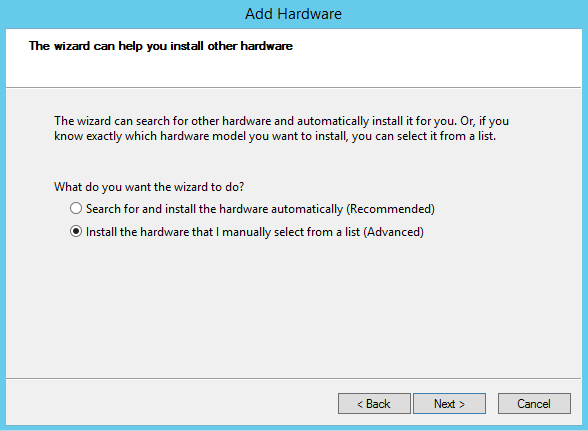
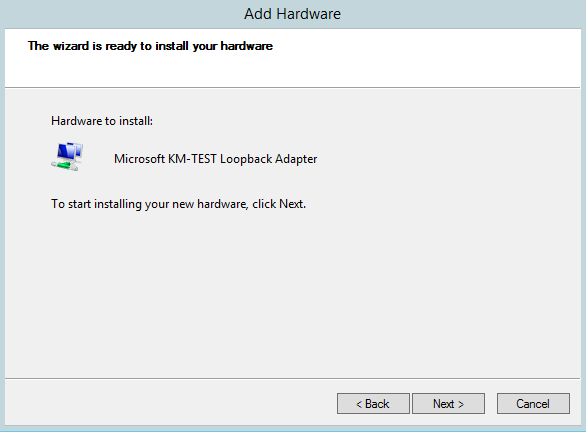
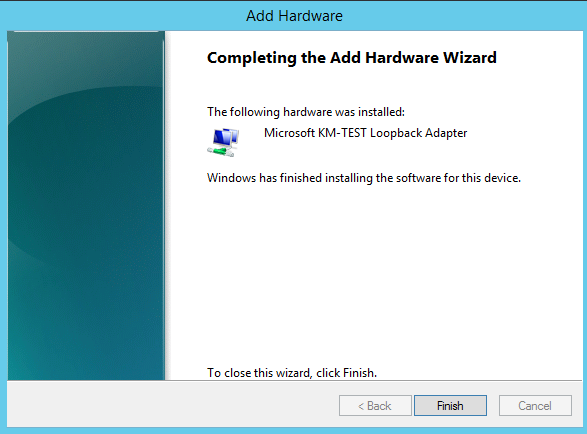
Right mouse click on your computer, select Add legacy hardware
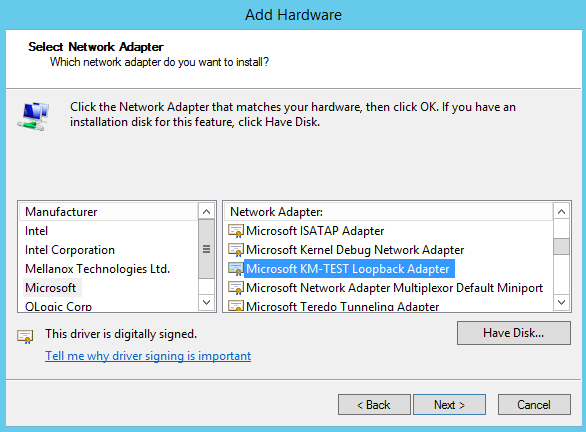
Select Microsoft and Microsoft KM-Test Loopback Adapter
Configure new device
Within Windows, goto the Network connections,
with Server 2012 you can run and type ncpa.ctl
Rename to loopback adapter to loopback, rename the ethernet adapter to lan

