Setup windows test client: Difference between revisions
| Line 20: | Line 20: | ||
{| width="50%" | {| width="50%" | ||
| valign="top" | | | valign="top" | | ||
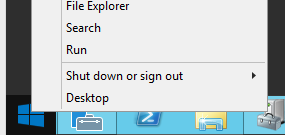
Click on '''Run''' | Click on '''Run''' <br> | ||
[[File:03-01-01-Run.png|240px]]<br><br> | [[File:03-01-01-Run.png|240px]]<br><br> | ||
| valign="top" | | | valign="top" | | ||
Revision as of 18:26, 10 July 2015
Main
|
Step by step installation and documentation for Windows (lots of screnn shots).
|
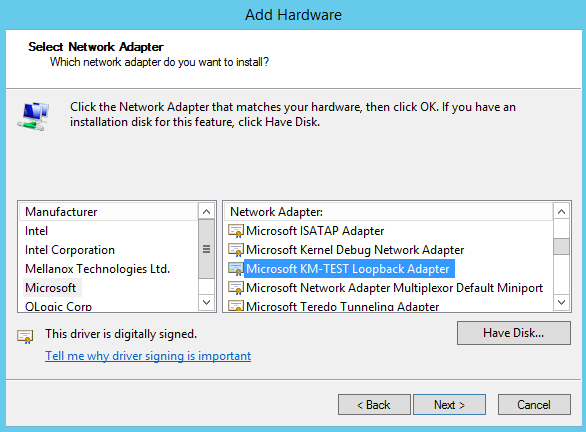
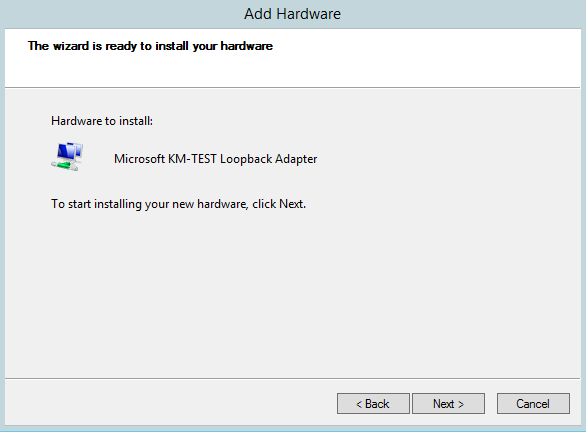
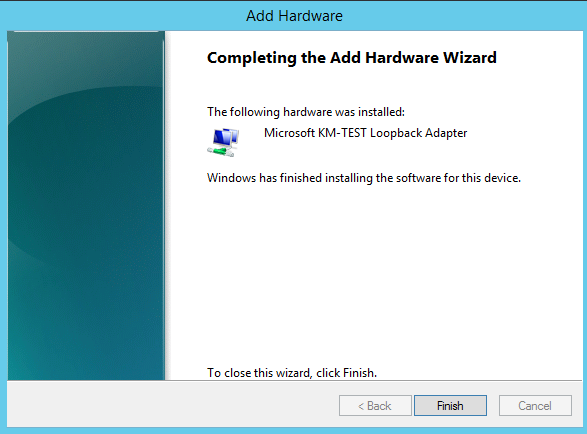
Add a new loop back device
|
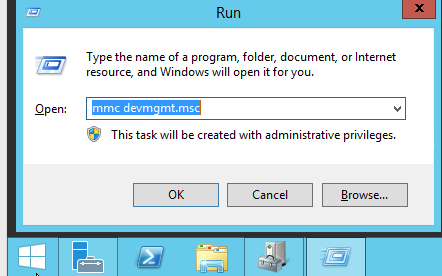
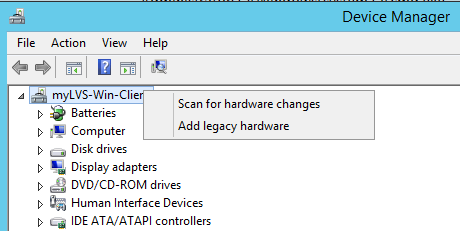
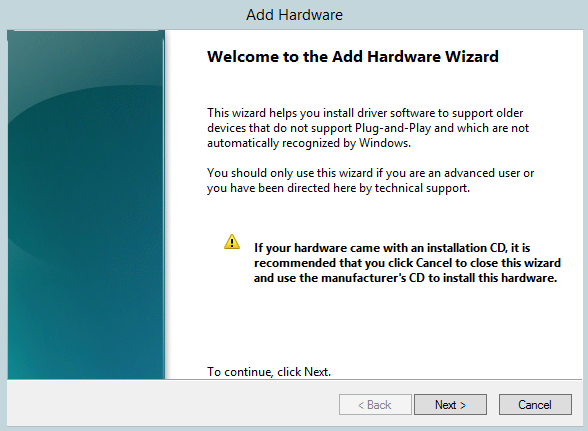
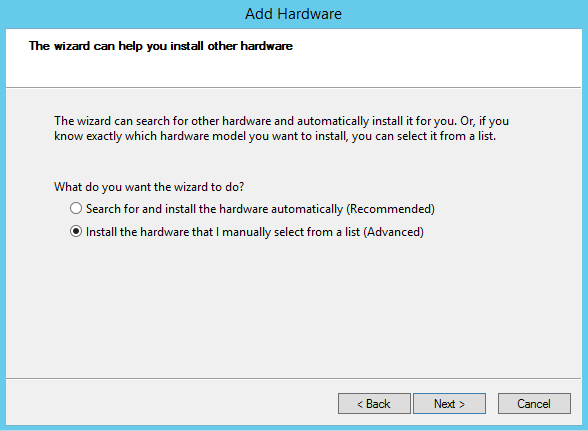
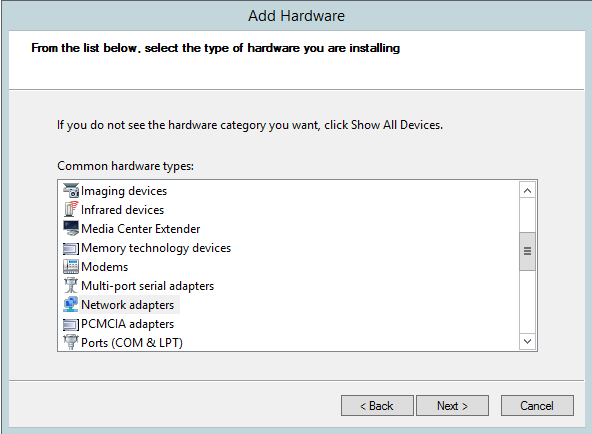
Right mouse click on your computer, |
|
Configure the new loop back device
Within Windows, goto the Network connections,
with Server 2012 you can run and type ncpa.ctl
Rename to loopback adapter to loopback, rename the ethernet adapter to lan

Edit the properties of IPv4 on the loopback adapter
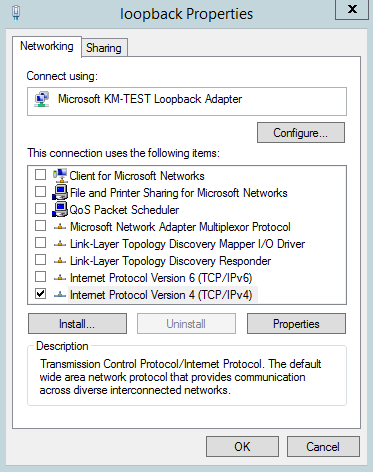
Enter the VIP (Virtual IP) = 192.168.2.220/24, click Advanced
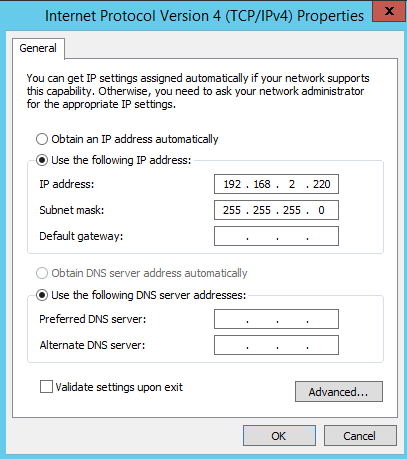
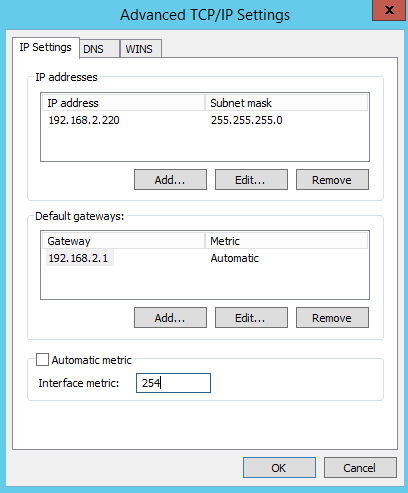
Disable Automatic metric, make the adapter aware of the ARP issue
Enter a high number, like 254, click OK
Open an administrative console and enter:
netsh interface ipv4 set interface "lan" weakhostreceive=enabled
netsh interface ipv4 set interface "loopback" weakhostreceive=enabled
netsh interface ipv4 set interface "loopback" weakhostsend=enabled
See this for more information about those commands:
Testing the new loop back device
From the Windows host try to open the URL
From an Network client try to open the URL
The result should be the default IIS Webpage

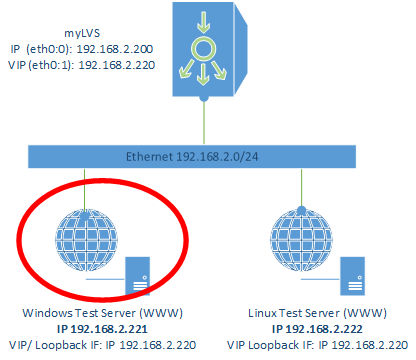
Goto myLVS and enable the Windows host and disable the second host which does not exist yet
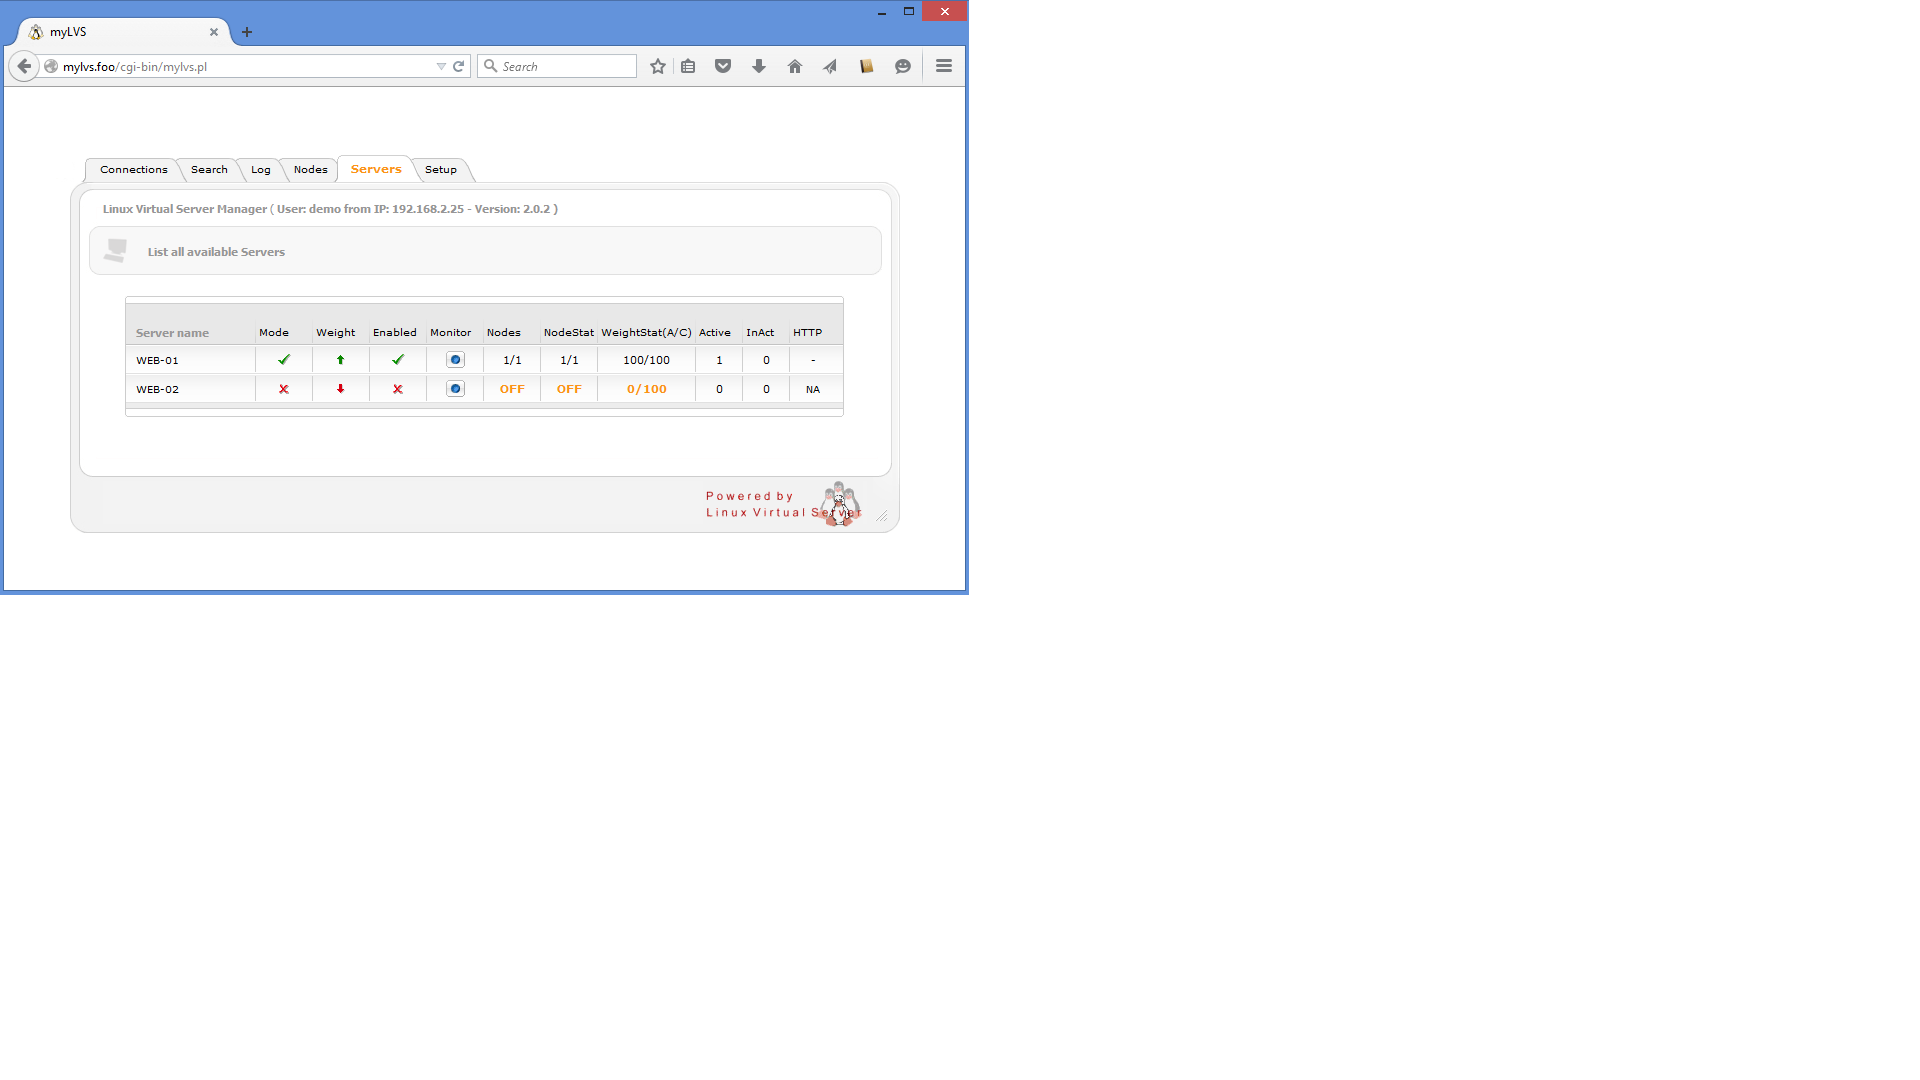
Use an network client and open the URL http://192.168.2.220, you should see the Windows IIS test site
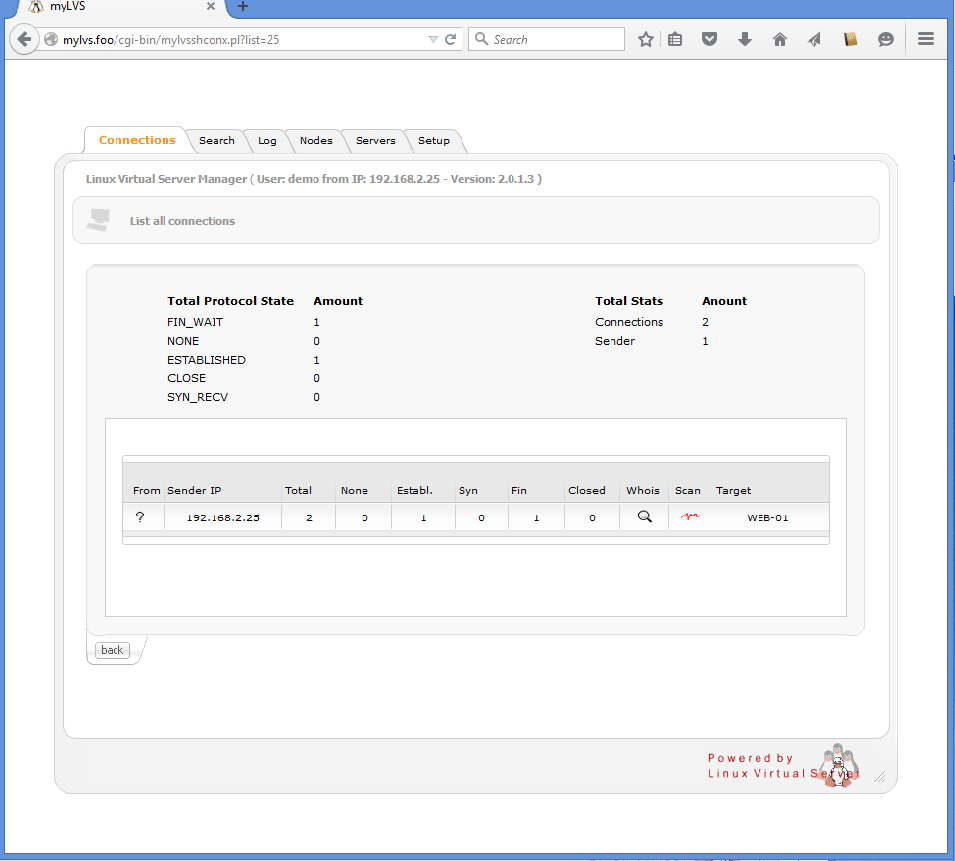
On myLVS clieck Connections to see the connection list:
