Setup MyLVS
Setup mySQL
At the very step we need to setup the database with all the required tables, please use the import script mylvs.sql to do so. You'll find the script within the download archive in /scripts or on the reference vm in /var/www/mylvs/scripts
mysql -u root -p < lvs.sql
Create the Database and the Users
Create the database, login into myslq:
# mysql -u root -p
On the SQL prompt type:
mysql> create database mylvs;
Create the default mylvs user:
mysql> GRANT ALL PRIVILEGES ON mylvs.* TO mylvsuser@localhost IDENTIFIED BY 'demo';
Add myLVS User:
mysql> insert into tblUsers (userID,name,operations,showcon,searchcon,reset,reboot,search,whois,nslookup,scan,servermanager) values ('1','demo','1','1','1','1','1','1','1','1','1','1');
Setup Apache
Get and copy the Apache template to:
/etc/apache2/sites-enabled/mylvs.conf
Verify the configuration and enable it with a2ensite:
a2ensite mylvs.conf
Add demo account to apache, use pwd demo
root@mylvs01:/# htpasswd -c /var/www/mylvs/wwwroot/.htpasswd.users demo
Login to myLVS
Depending on your client OS you may add a hostheader to your host file, to do this type
- Linux
# vi /etc/hosts
- Windows (Administrator command shell)
notepad c:\Windows\System32\drivers\etc\hosts
Add:
192.168.x.y mylvs.foo
Now open your prefered browder and navigate to mylvs.foo, login using demo, demo.
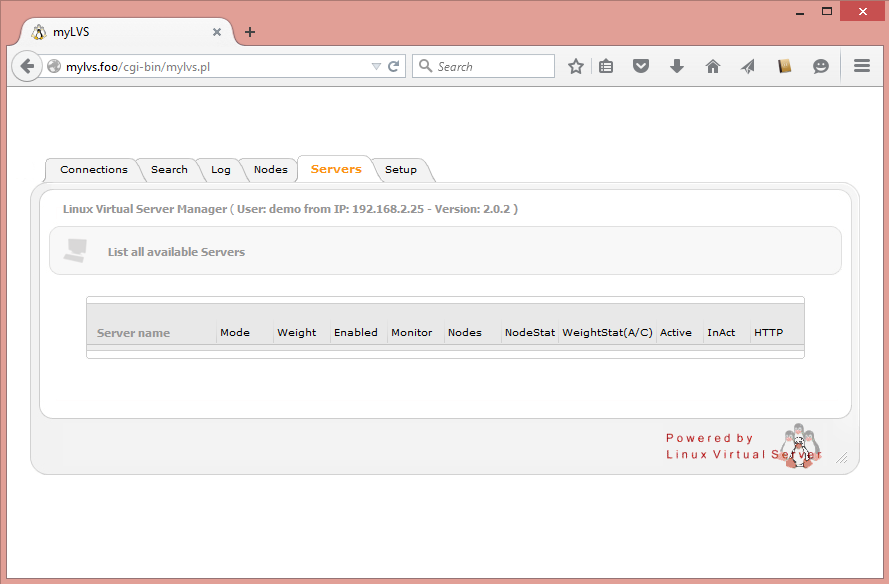
You should see an empty configuration scren.
